How to install Toyota Previa Estima ?
Have you ever thought about a better sound system and navigation from your car stereo? Do you want more features than the factory provided for your car? For now, you can upgrade your car radio yourself with a little planning, and there’s not too much trouble. This article would tell you the steps for removing and installing a car stereo replacement in Toyota Previa Estima 2000 – 2005. Similar cars may work for similar steps.
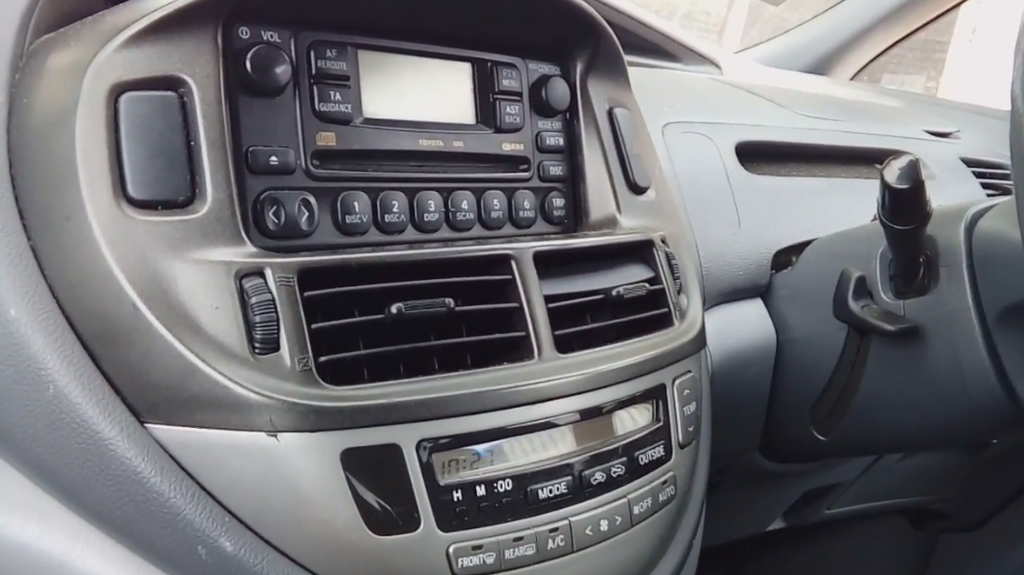
How to Remove a Factory Car Stereo in Toyota Previa Estima 2000 – 2005?
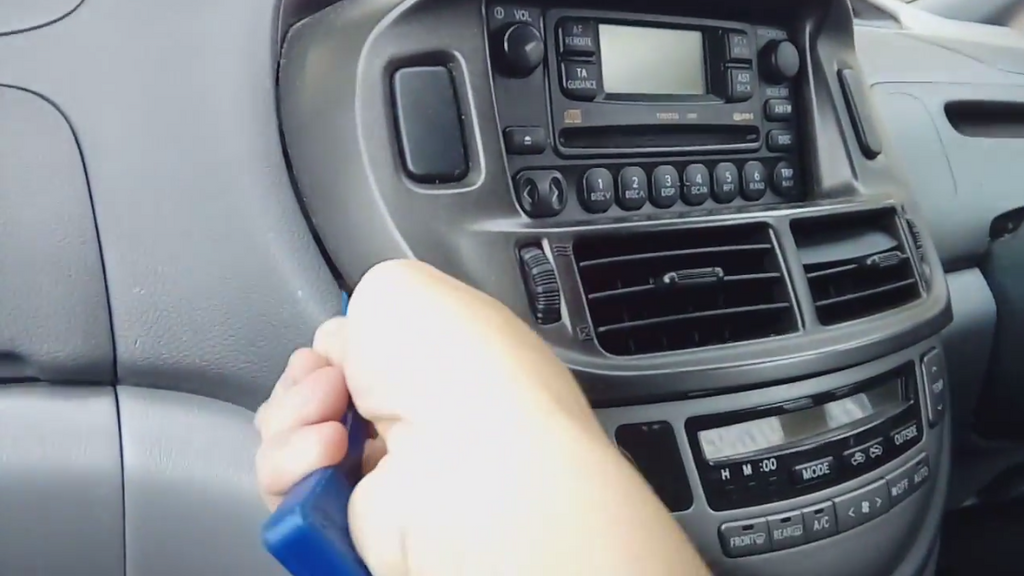
Step1 Remove dash plate
Use a suitable screwdriver or other tool to pry open the dash plate until it is loose and removed and set aside.
Step2 Remove the radio bolts
Depending on your vehicle model (one of Toyota Previa Estima 2000 – 2005), there will be four bolts that hold the factory radio in place. Locate the bolts and use the appropriate screwdriver or socket to remove them.
Step3 Disconnect the wire harness
There will be an antenna wire, power wire harnesses and others in the back of the factory radio. After you remove the radio, disconnect the wire harnesses.

How to Remove a Factory Car Stereo in Toyota Previa Estima 2000 – 2005?
Installing a car stereo replacement can be simple enough by yourself. Be sure to read instructions that come with the new car stereo before install it. Our BINIZE car stereo will come with bracket and wire harnesses fits your car.
Step1 Match up and the wires
Match the wire harnesses of the car’s harnesses to the new stereo’s harnesses according to the manual. The wire harnesses are plug and play and connectors are unique, so it is easy for you to figure out.
Step2 Assemble the bracket
The new stereo comes with a separate mounting kit for placing it, assemble it to the car stereo according to the stereo's instructions. (There are 4 screws in the package for you.)
Step3 Connect the remaining wires
If you need to use an external mic or other audio input, you can connect them to the RCA wire harness.
Step4 Test the stereo.
Turn the power on and test the FM radio and other features of the car stereo. Test the touch screen and sound settings to be sure the speakers are working properly.
Step4 Install the bracket
After testing, if everything is OK, you can push the stereo into place. Mount the car stereo like the way the old radio place.
Step5 Reconnect the dash plate
Put the dash plate in place.